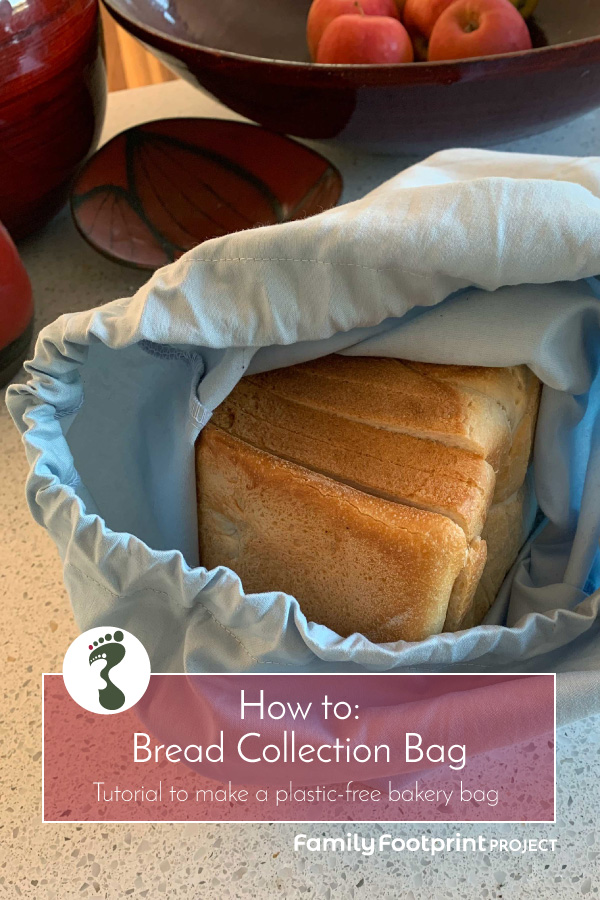
I talked about my Bread Collection Bag in my Our First Family Footprint Steps post among others. I made it myself from an old cotton sheet (you know how the fitted sheet always wears out before the top sheet?) and it is one of the easiest sewing projects you could imagine so let me share how to make your own.
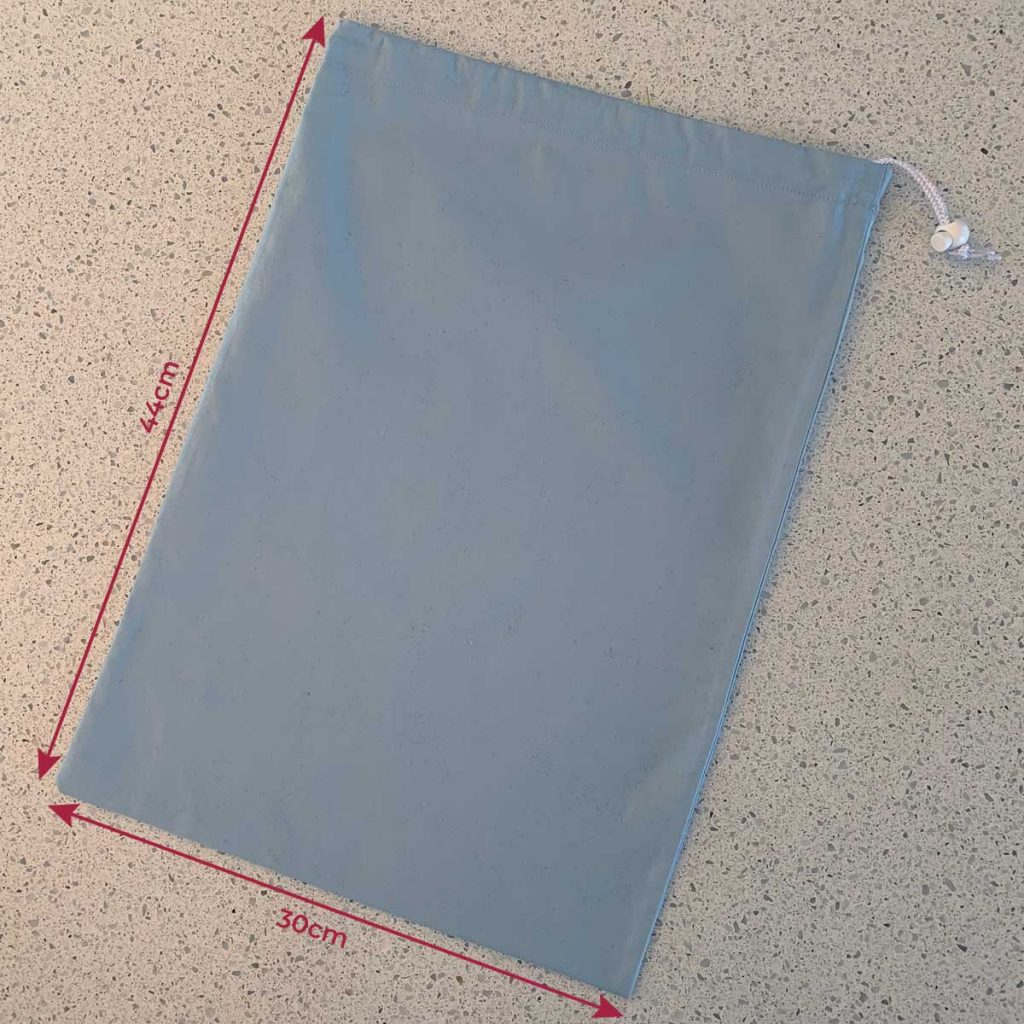
First up, let me explain again what my bread collection bag is. Well, it’s just that. It is a bag in which I collect our sliced bread from the bakery. I made it the same dimensions as the plastic bread bags used by Baker’s Delight (30cm by 44cm) and, so far, the staff at my local Baker’s Delight haven’t blinked an eyelid when I’ve asked for my sliced bread in my own bag.
Of course, if you are buying unsliced loaves or rolls any clean cloth bag will be fine. I wanted to make something, though, that closely resembled the sliced bread bags so that it was easy for the bakery staff to use.
Ok, let’s get started.
Bread Collection Bag
Equipment and Materials
- sewing machine
- overlocker (optional)
- iron & ironing board
- ruler
- 1m cotton fabric (or two smaller pieces – see below)
- thread
- 1m cord
- cord lock (optional)
Instructions
1a. Cut the fabric to 100cm x 33cm. Finish the short ends of the fabric with overlocker or zig zag stitch.
1b. If you are working with smaller pieces, you might need to cut two pieces 52cm x 33cm and sew a seam. If so, cut the pieces then, with right sides together, sew two short sides together to create one long piece of fabric. Finish the edges of this seam with a zig zag stitch or overlocker.
2. Fold the fabric in half lengthways with right sides together so that finished ends are together and edges are even.
3. Sew side seams with a 1.5cm seam. Finish seams with overlocker or zigzag stitch.
4. Fold the open, top edge of the bag down 2cm with the wrong sides facing each other to form a casing for the drawstring. Press the fold and stitch the casing in place about half a centimetre from the finished edge of the fabric, leaving a 2cm opening for the drawstring near one side seam.
5. Turn the bag the right way out and thread the cord through the casing. The easiest way to do this is to tie the cord to a large safety pin and use the pin to guide the cord through the casing.
6. Thread both ends of the cord through the cord lock if using and tie the two ends of the cord together with a secure knot.
Optional: To stop the cord ends from fraying, wrap them in some sticky tape. Synthetic cord can also be fused together by melting with a match.
So there you have it, your own bread collection bag. The only hurdle left now is to remember it when you go to buy your bread! Remember too, to keep it clean as your bakery, understandably, will likely not accept a soiled bag.
And if sewing is really not your thing, this small Australian business, Aussie Bread Bags, is making and selling them for you. I think they are smaller than the one I have made but they would do the job nicely too.

Glossary of Sewing Terms
If you are new to sewing some of the terms above might be unfamiliar. I have explained some here. If you have any other questions though, please ask them in the comments below.
finish – encase the raw edge of the fabric with an overlocker or zig zag stitch to prevent fraying
right sides – the sides of the fabric that will be the outside when the bag is finished
wrong sides – the sides of the fabric that will be the inside when the bag is finished
casing – an enclosure to run the drawstring through
press – make a crease with an iron
finished edge – the edge that was overlocked or zig zag stitched in step 1.
[mc4wp_form id=”96″]