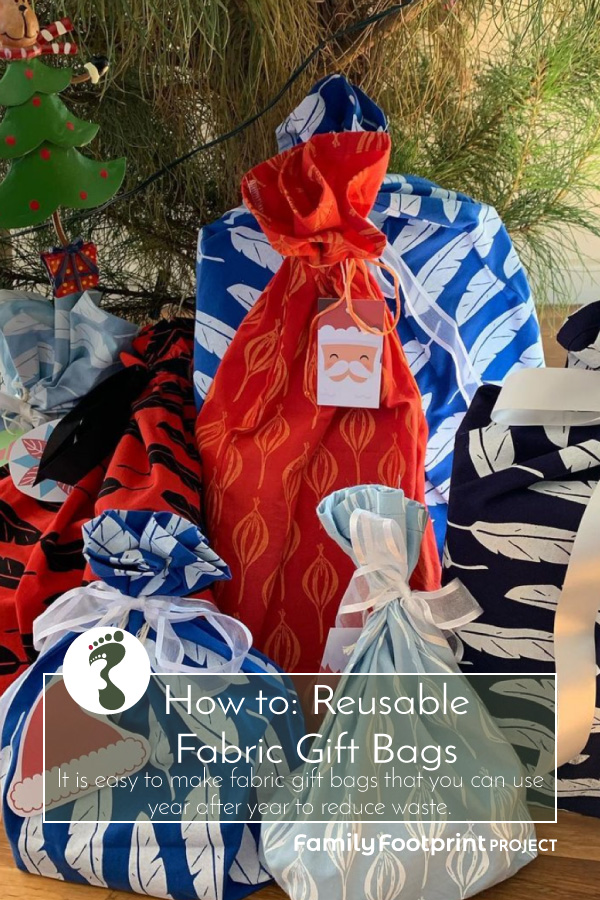
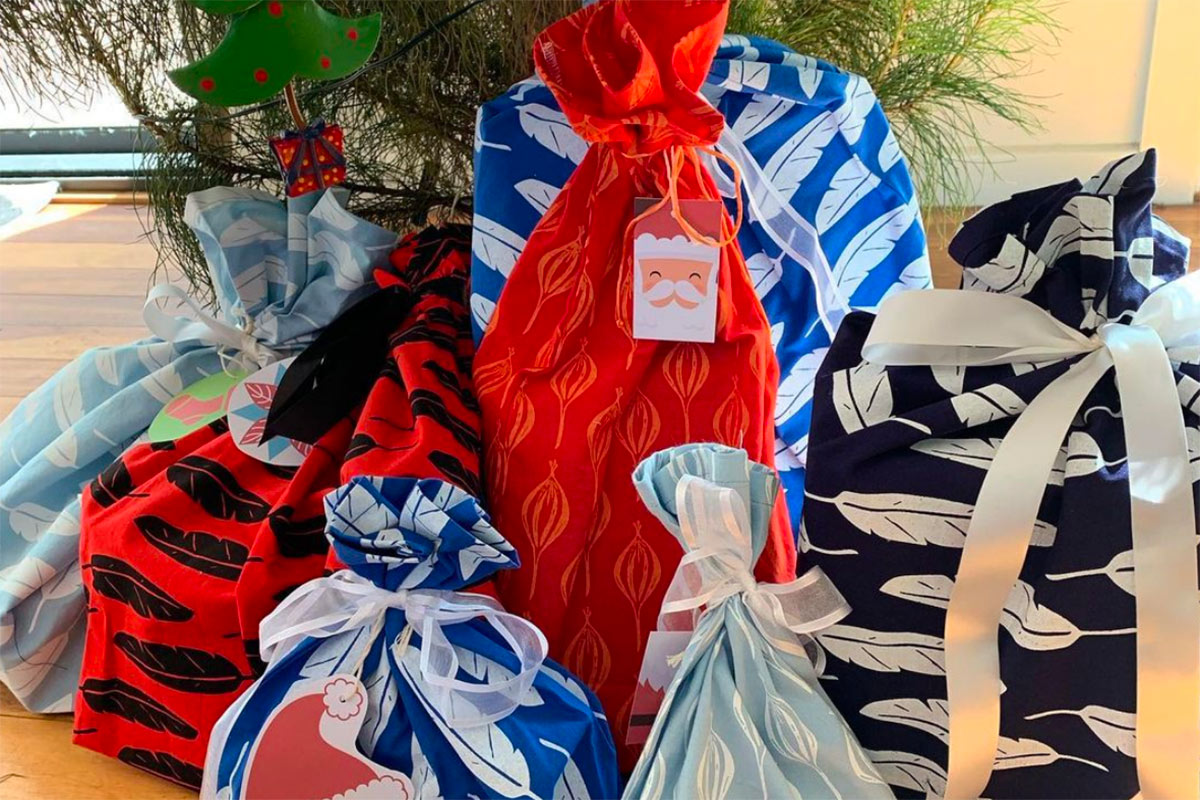
Last year I made a number of reusable fabric gift bags to wrap our Christmas gifts, to make our Christmas lower waste. I was prompted to do this when a friend asked me if I would be able to make some for her. I’ve just wrapped my first gift for this Christmas and I can tell you, you really reap the reward in the second year!
Recently on Instagram, @kirstymeese discovered my post about them and asked if I could share how they are made. So Kirsty, here is the blog post I promised you! Thanks for the suggestion. I’m pleased to oblige.
Easy to Make
These are so simple to make. If you can sew a straight seam on the sewing machine, you’ve got it in the bag (see what I did there – hahaha!) If you need help with the sewing terminology (or sewing in general) there are some blog posts on my other blog to help. I recommend making a variety of sizes as gifts come in all the sizes and hard-to-wrap shapes. Here I give dimensions for the small, medium and large bags I made last year but, of course, the method for making the bags is the same so cut the fabric pieces to suit your needs and the fabric you have.
Use Repurposed Fabric to be Super Green
If possible, use repurposed fabric to make these. There is no need to buy special Christmas themed fabric unless you really want to. Using generic fabric means they can be used for other occasions too. Plain or patterned is fine. Adding a pretty ribbon will make them festive.
I used fabric that I had printed for my business, Blue Radish, but hadn’t used, which is why mine are all matchy-matchy in the picture above. As I add to my collection over the years, they will become less matchy-matchy because this is a brilliant way to divert some textile waste away from landfill. Secondhand stores like Vinnies always have loads of bedlinen which would be perfect for this. The small one I have made in the tutorial below was cut from a worn out pair of linen pants and I cleverly used the hem for the finished edge of the top.
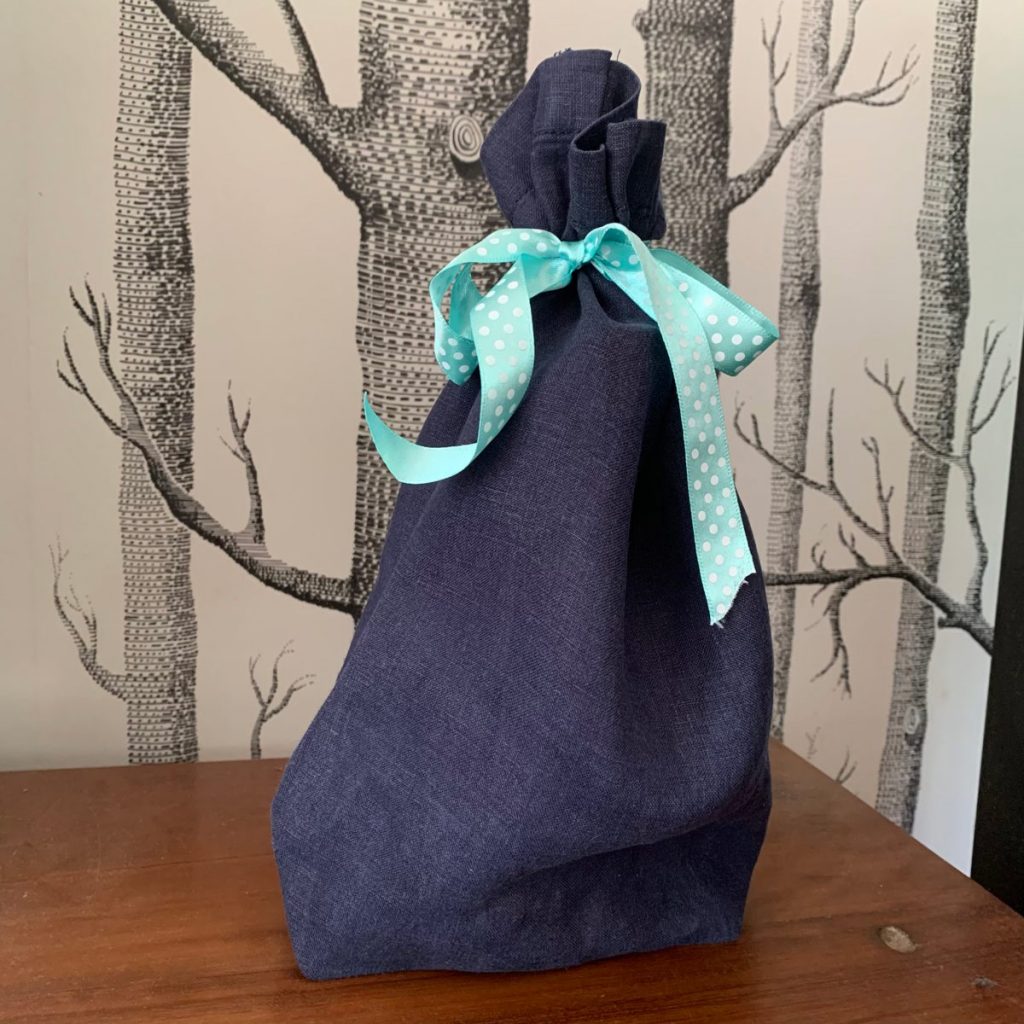
Image by Family Footprint Project
Reusable Fabric Gift Bags
Equipment and Materials
- Fabric (secondhand is ideal)
- Ribbon (also sometimes possible to find at charity shops)
- Basic Sewing Kit
- Thread
- Sewing Machine
Instructions
Prepare
1. Make a paper pattern for each size. This step is not strictly necessary. It is possible to simply measure and cut the fabric but having a paper pattern makes cutting several at a time quicker and easier, particularly if you are cutting out from repurposed fabric such as a pair of pants. For the large size, you might need a large sheet of newsprint or stick smaller sheets together. Dimensions are:
- Large – 60 x 77cm
- Medium – 40 x55cm
- Small – 24 x 34cm
2. Adjust the laying and cutting out to make the most of your fabric but, in general terms, take your fabric and fold it in half lengthways with the right sides together. To cut two bags at a time, fold the fabric again.
3. Pin your pattern to the fabric and cut out.
Sew
4. Take the two pieces for one bag. With right sides together, stitch down one side seam, across the bottom and back up the second side with a 1.5cm seam allowance.
5. Finish the edges of this seam with an overlocker or zig-zag stitch.
6. Press the seams.
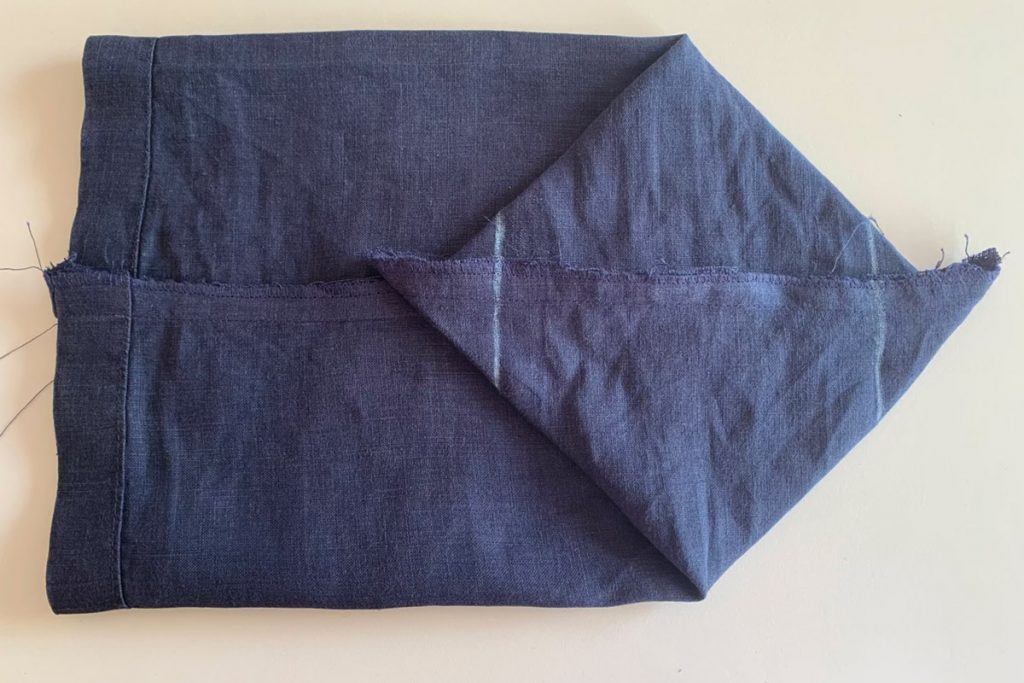
Image by Family Footprint Project
7. Lay the bag down with the seams centred and matching. The bottom of the bag will form a diamond shape. Flatten the base of the bag out and mark a line perpendicularly across the top and bottom of the diamond. The lines should measure 15cm across for the large bag, 10cm for the medium bag, and 7cm for the small bag.
8. Stitch across the corners of the bottom of the bag along these lines. This will form a ‘square’ base for the bag. You can trim off the excess and finish these edges but I don’t bother for these gift bags.
9. Turn the bag the right way out and press.
10. Fold the top edge of the bag to the inside to make a double hem. The raw edge will be concealed within the hem.
11. Stitch the hem in place.
Finish
12. Cut a length of ribbon long enough to wrap around the neck of the bag and to tie a bow.
13. Find the mid point of the back of the bag, about 9cm from the top for the large bag, 7cm for the medium bag and 4cm for the small bag. Mark this with a pencil.
14. Fold the ribbon in half to find the mid-point of its length. Pin this point of the ribbon to the bag at the mark you made.
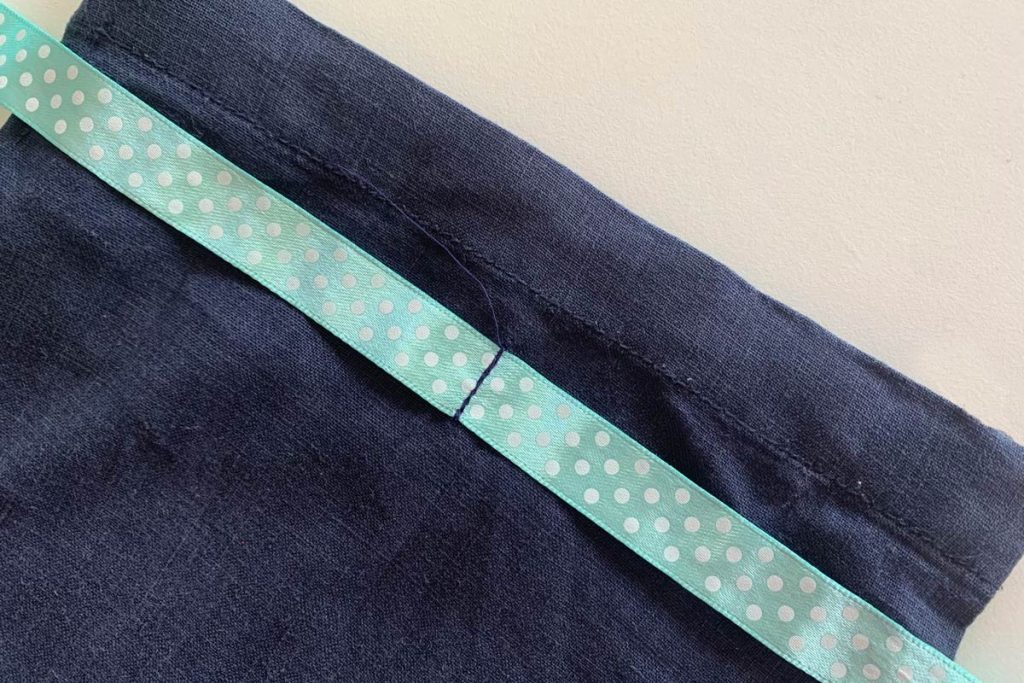
Image by Family Footprint Project
15. Stitch the ribbon to the back of the bag, stitching across the ribbon and doubling back for extra strength. Make sure you only sew it to on side of the fabric. Pull the front of the bag clear of the needle.
And that’s it! That is how to make reusable fabric gift bags. They are quick and easy to make so you can add to your stocks every Christmas. I offered that my gift recipients could keep the bag if they would use it again. Otherwise, I collected them back to use again this year.
Tip for Gift Tags
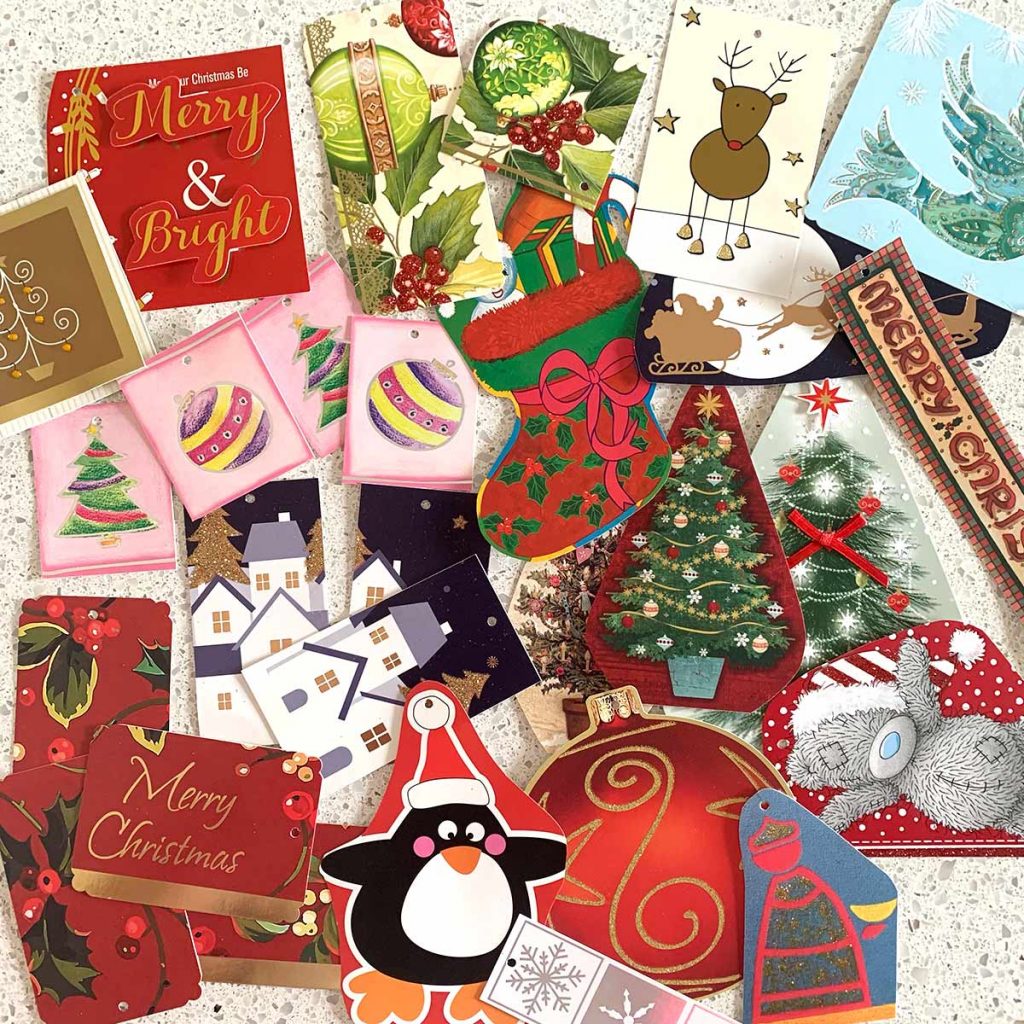
Make your own gift tags by cutting up old Christmas cards. You could cut out shapes from the cards, for example, if the card features a Christmas tree, cut out the Christmas tree. Otherwise, just cut the card into rectangles. Punch a hole in the gift tag and tie it to the ribbon on your gift bag with a piece of compostable string or raffia.
[mc4wp_form id=”96″]
